
Say you’re about to head off on your first backpacking trip, starting from square on when it comes to gathering all the backpacking gear you need.
You walk into the outdoor gear shop and take in the racks of muted-toned packs. The rainbow of sleeping bags strung up from the ceiling like neon hibernating bats. The miniature models of ultralight tents perched on shelves so you can see how they look in real life.
And this is just the basics! Then there’s a whole section of accessories. Ultralight cookware, special sporks made of titanium, a $60 canvas cover for your roll of paper towels. Do you need “backpacking outfits”? The $50 sweat-wicking, short-brimmed, 5-panel hat?
By the time it’s all said and done, your total is more than a mortgage payment. Ouch! I hope I like backpacking. But buying gear for a backpacking trip doesn’t have to be all-or-nothing. It’s easy to get carried away when everything at the store looks so light and aesthetic. But if you’d rather not dip into your life savings to cover a weekend trip, here is where I would splurge on quality gear, and where I would save.
Backpacking Gear: Where to Spend and Save
Spend
This doesn’t mean go out and buy the fanciest possible edition of each item. Just focus on getting something quality that will serve you well for years. New or used.
Sleep System
Getting a quality rest is so important to enjoying the trip. If you are freezing all night thanks to a crappy sleeping bag, you won’t be well rested or energetic. Also, a sleeping bag and pad takes up a lot of room in the pack. The well-designed ones are light and warm.
Boots and Socks
Ill-fitting boots can cause limp-inducing blisters, or worse, injury. When you are carrying all that weight on your back, you want good boots or even trail running shoes.
One Quality Outfit
Yes, I spent most of my early backpacking years in college in a cotton “Intramural Volleyball Champs!” t-shirt and old running shorts, with a cotton hoodie for the evening. Investing in a wool top and a light down jacket is better for body temperature regulation. You also won’t have to carry as much weight by bringing fewer, higher-quality clothes.
Quality items to consider:
- Packable down puffer jacket
- Rain jacket (and pack cover)
- Wool socks (will last a few days)
- Merino baselayers (top and bottom)
- Cold-weather gear if winter camping
Well-fitting Pack
You will want a good pack that fits correctly. While I have this in the “splurge” category, this is an item I have had good luck with finding used. Just make sure it fits well.

Reliable Stove
Get a JetBoil or stove you can trust for years. You will be pretty hungry if it craps out on you and all you have is dehydrated meals.
Paper map and External Battery
Getting a good-quality paper map (I like the National Geographic ones) that won’t bleed ink in the rain is essential. Do not just print out your Gaia map on computer paper. It will disintegrate. Having a good external battery to charge headlamps and phones is a nice luxury, but I believe it is worth having in case of emergency or you need to see the map on your phone.
Save
These are items where I would focus on saving money initially. You can always upgrade them later if you want!
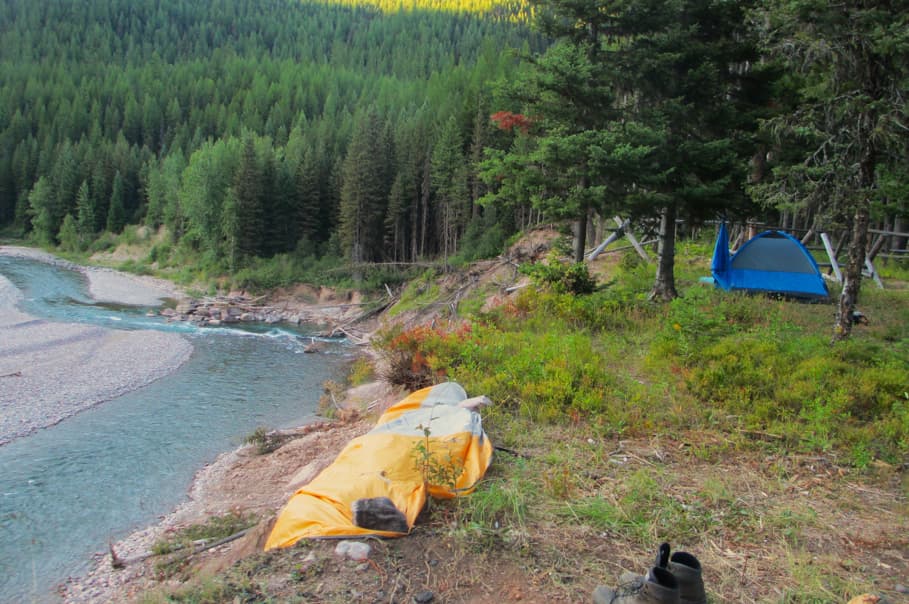
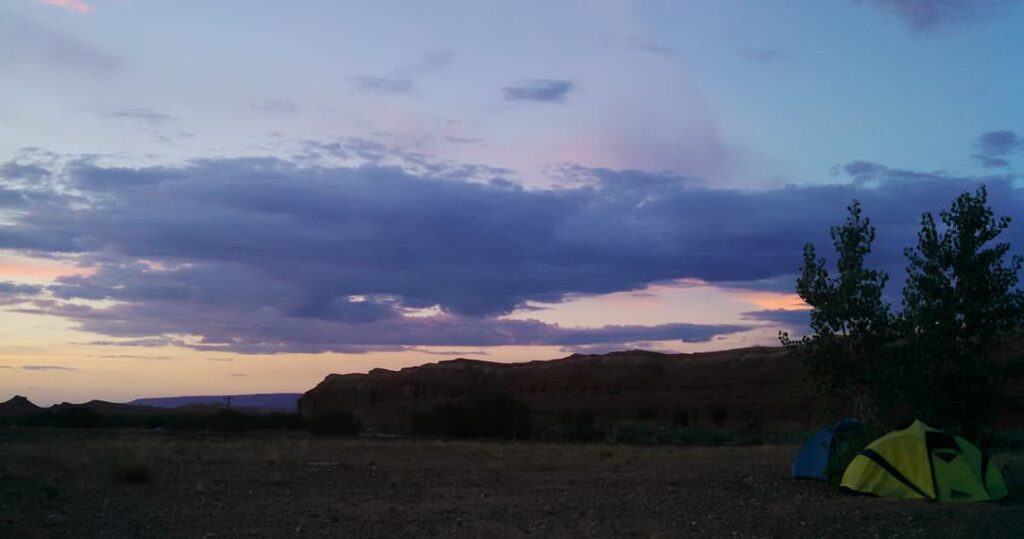
Tent
Unless you really value saving ounces, you do not need to spend a fortune on a tent. I spent 12 years using the same $30 Wal-Mart tent my dad bought for me before my first backpacking trip. It sleeps three people and fits in my pack. Works great.
Dehydrated pre-packaged Meals
I am begging you, please do not pick out a $15 dehydrated meal for each breakfast, lunch and dinner of the trip. It is likely too much food and will leave you running for the bushes. Treating yourself to a couple dehydrated meals is fine if you feel so inclined. But instead of the $15 “dehydrated granola and fruit”, try some 30-cent oatmeal packets. These meals should supplement your food for the trip, not make up all your nutrition intake.
“Backpacking-specific” Toiletries
Yes, we all love to smell like Dr. Bronner’s Pure Castile Magic Liquid Soap in the woods. Save money by getting your mini toiletries at a normal store, not the outdoor shop. Travel-sized normal products are fine. Try to find biodegradable products to stay eco-friendly. But you can find “backpacking-sized” toiletries at normal stores and save lots of money.
Specialty camping pillow
These are probably awesome. I have never used one. This is an item to skip to save money, and maybe buy later if you so choose.
Kitchen Supplies and Accessories
You will want a reliable stove. You don’t need an entire cupboard’s worth of super titanium ultralight dishes and utensils. A light, wide-mouthed mug and a spork will get you so far. Zip-locs for spices work just as well as $8 mini, cute “backpacking spice jars”.
A Wardrobe of “Outdoorsy Clothes”
Build a wardrobe of quality gear over time. It does not have to be all at once. Having one quality set of base layers is awesome. But you will be fine adding to this category over time, not all at once.
In the “Spend” section, I listed some items to consider prioritizing quality when purchasing. Here is where I would save:
- “Hiking pants”
- “Hiking shorts” (the running shorts you already own will work great)
- Specialty hats designed for hiking (your regular ball cap is fine)
- Special “camp shoes”
- A new beanie (the one you have already is perfect)
- New, ultralight pants for sleeping in
Camp lighting
Fun accessories like a tent light or string of lights are cute, not necessary. A headlamp is fine for now.
“Camp shoes”
The Crocs you have had for 5 years are free. The packable, down, $100 “camp slippers” are not free.
“Backpacking chair”
Takes up room in the pack, not 100% necessary. These little chairs are great, but this is something to add later if you decide it’s worth it to you. In the meantime, logs or your bear canister make great seats.
Don’t Let Sticker Shock Keep You On the Couch
Having the luxury of high-quality backpacking gear can certainly pay off on the trail and at the campsite. What we don’t want is the high cost of outdoor gear to be a barrier to entry for hikers coming in without the budget for “all the best stuff”. Remember, you can always start with budget gear and then upgrade things over time as you see fit.
Also, you can get creative when it comes to procuring backpacking gear. Gear rentals, borrowing from friends and scouring resale sites and shops can help you save even more. The most important part of backpacking is the experience in the outdoors, whether alone or with companions. Don’t let the sticker shock keep you on the couch!
Pingback: How to Plan a Sweet Backpacking Trip - the lupine